Hoe Een Knoop Aannaaien – Eenvoudige Stappenplan
Intro
A missing button transforms a favorite shirt into unwearable clutter within seconds. Yet the remedy requires only a needle, thread, and two minutes of concentrated effort. Mastering this fundamental repair extends garment life indefinitely and eliminates reliance on costly tailoring services.
Grid
Success depends on matching your approach to the button hardware. Four-hole buttons demand crossing patterns or parallel bars, while two-hole variants suit lightweight fabrics. Shank buttons—featuring a metal loop beneath—require different anchoring techniques entirely. Heavy coats need reinforced thread, whereas silk blouses demand fine, nearly invisible stitches.
Insights
Most failed repairs stem from insufficient thread length. Working with a strand shorter than twenty-four inches invites frustration and knotting. Doubling the thread provides necessary strength for outerwear yet proves excessive for delicate linens. Leaving a deliberate “shank”—a small gap between button and fabric—prevents the telltale puckering that signals amateur work.
Table
| Button Type | Thread Recommendation | Stitch Pattern | Best Application |
|---|---|---|---|
| 4-Hole Flat | Doubled polyester | Cross or parallel | Shirts, blouses |
| 2-Hole Flat | Single strand cotton | Straight bar | Lingerie, lightweight knits |
| Shank | Heavy-duty nylon | Wrapped anchor | Coats, bags |
| Snap | Waxed linen | Hidden rings | Trousers, children’s wear |
Details
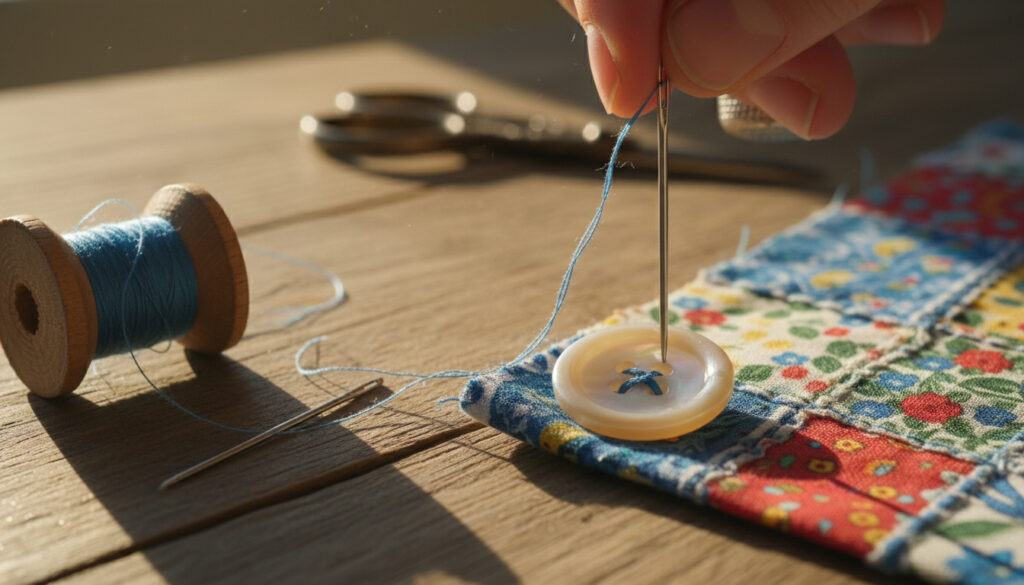
Begin by anchoring the thread securely. Insert the needle from the fabric underside, catching three to four threads to establish a firm foundation. For four-hole buttons, align the holes perpendicular to the fabric edge on shirts, or parallel on center-front closures.
Execute six to eight passes through each hole pair, maintaining consistent tension. The thread should lie flat against the fabric without cutting into the fibers. Before finalizing, wrap the thread tightly around the stitches beneath the button three times to create the critical shank space. Secure with a winding knot driven through the fabric layers, then bury the tail between the plies before trimming.
Timeline
Preparation consumes thirty seconds: threading the needle, knotting the end, and positioning the button. The actual sewing requires ninety seconds for a standard four-hole button. Finishing—creating the shank, knotting, and trimming—adds another thirty seconds. Total investment rarely exceeds three minutes per button.
Clarity
Tension inconsistencies create rippling across the fabric face. If the button stands proud or the material gathers, the stitches are too tight. Loose buttons that wobble indicate insufficient passes or weak thread. For delicate vintage fabrics, place a second needle between the button and cloth during sewing to guarantee adequate spacing automatically.
Analysis
Machine-sewn buttons offer speed but lack the flexibility essential for functional closures. Hand-stitching accommodates fabric thickness variations and allows precise shank sizing. The manual approach also permits hidden reinforcement—adding a small flat button on the reverse side distributes stress across a wider surface area, preventing tear-through on stress points.
Quotes
“The shank is everything. Without that breathing room, the button acts like a knife against the cloth every time you breathe or bend.”
— Master Tailor, Savile Row
“I see ruined shirts where someone used a sewing machine. They cranked it too tight and cut the ply. Hand work respects the grain.”
— Textile Conservator, The Spruce Crafts
Summary
Effective button attachment balances security with flexibility. Match thread weight to fabric density, create mechanical advantage through the shank, and anchor knots within the fabric layers. This skill applies universally across wardrobe maintenance, from replacing shirt buttons to reinforcing coat closures on vintage outerwear.
FAQ
What thread color should I use?
Match the thread to the garment’s dominant color or the original thread remaining on adjacent buttons. For striped or patterned fabrics, select the darkest neutral present in the design.
How do I sew a button on leather?
Use a leather needle with a cutting point and waxed nylon thread. Create holes with an awl rather than forcing the needle through, which prevents tearing the grain. Avoid creating a shank; instead, sew the button flat to minimize stress on the leather.
Why does my button keep falling off?
Insufficient thread passes or failure to create a shank causes rapid failure. Additionally, check that you are stitching through all fabric layers including interfacing. Reinforcing the area with interfacing or a backing button prevents tear-out.
Can I use dental floss instead of thread?
Dental floss provides exceptional strength for heavy-duty applications like overcoat buttons, but its thickness creates bulk on fine fabrics. Use unflavored varieties only, and be aware that the wax coating may repel dye, creating visible light spots on dark fabrics over time.
Visual step-by-step guides offer alternative perspectives on hand positioning, while specialized sewing resources provide additional stitch variations for decorative applications.
Meer gerelateerde berichten
 BORA Kookplaat Met Afzuiging: Nadelen & Prijzen
 Hoe tem je een draak kijken? Streaming, Disney & live-action 2025
 Slavia Praag tegen Barcelona 2026: Uitslag en verslag
 H&M Groningen: adres, openingstijden en praktische info
 13 polige stekker aansluiten: schema, kleurcode en fouten
 Koningsdag 2026 vrije dag: ben jij vrij op 27 april
 Nederland Milaan Cortina 2026 – 20 Medailles voor TeamNL
 Avocado toast bij mij in de buurt: gezond of niet
